Fort Siloso: The Surrender Chamber

The Surrender Chamber, located near the Fort gates houses displays of the British Surrender to the Japanese on 15 February 1942, and the Japanese Surrender to the British on 12 September 1945.
British Surrender
On the 15 February 1942, the Japanese had penetrated the line of last defence, and ammunition and food was beginning to be in short supply. The ammunition for AA guns was almost exhausted.
Lt. Gen. Percival had received a signal from General Wavell, the Supreme Commander, which included the words, “When you are satisfied that this [continuing resistance] is no longer possible, I give you discretion to cease resistance”.
At 0930, Lt. Gen. Percival presided over a conference at the Combined Battle HQ (the Battlebox). He outlined two options to his senior staff. An immediate counter-attack to attempt to regain the reservoirs and food stocks, or to surrender. After a discussion, it was agreed that a counter-attack would not be possible, and that surrender was the only option. Lt. Gen. Percival then informed the Governor, Sir Shenton Thomas of his decision to surrender.
At 1130hrs, a delegation, under a white flag, was sent to the Japanese HQ at the Ford Factory. It consisted of Brigadier Newbigging, Acting Colonial Secretary, Hugh Fraser, and Major Cyril Wild, a Japanese speaker. After a lengthy delay at the Ford Factory, they were met by a Japanese Staff Officer, Colonel Sugita. The delegation was informed that Lt. Gen. Yamashita would only agree to discuss surrender with Lt. Gen. Percival, and that it must be at the Ford Factory. The delegation returned to Fort Canning taking with them a large Japanese flag which was to be raised over the Cathay Building to indicate that Lt. Gen. Percival would accept the arrangements.
The Japanese flag was duly raised. Two cars set off for the Ford Factory carrying Lt. Gen. Percival and his delegation. In the first car was Brigadier Newbigging, Brigadier Torrance and Major Wild. Behind it was the car carrying Lt. Gen. Percival, his ADC (Aide de Camp) George Patterson driving, and a sergeant holding up a white flag. They were met short of the Factory by Colonel Sugita and a tank. Colonel Sugita accompanied the party to the Factory to meet Lt. Gen. Yamashita.
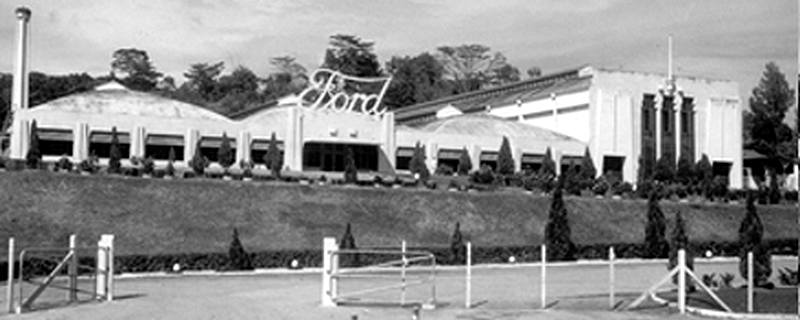
The Ford Factory. The boardroom is left of the entrance under the sign.
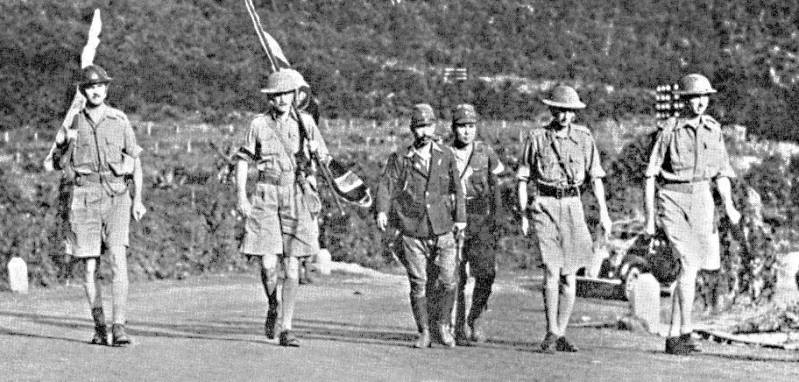
At 17:15, Lt. Gen. Percival arrived at the Ford Factory with his delegation
L to R: Maj. Wild, Brig. Newbigging, Maj. Sugita, Japanese Soldier, Brigadier Torrance & Lt. Gen. Percival
The delegation met with Lt. Gen. Yamashita in the Board Room for a meeting lasting less than an hour. Lt. Gen. Percival had no option but to accept a demand for unconditional surrender. At 18.10hrs the two Commanders signed the surrender document. A cease-fire came into operation at 2030hrs. The war in Malaya and Singapore was over.
The day was also Chinese New Year - The Year of the Horse. In British circles the day became known as ‘Black Sunday’.
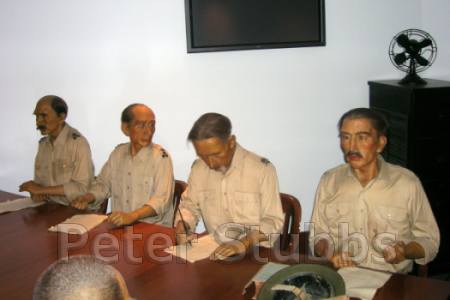
LEFT: The British Delegation. Brigadier T.K. Newbigging, Brigadier K.S. Torrance, Lt. Gen. A.E. Percival & Major C. Wild.
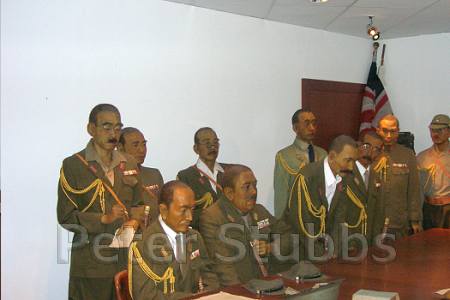
RIGHT: The Japanese Delegation. Back Row L to R: Lt. Col H. Iketani, Col. H. Yamatsy & Com. T. Nagai (Imperial Japanese Navy). Front Row: Maj. Gen. S. Suzuki, Lt. Gen. T. Yamashita, Lt. Col. I. Sugita, Maj. Gen. K. Manaki, Maj. I. Fujiwara, Maj. T. Hayashi & Lt. Col. M. Okamura.
The Japanese Surrender
The formal Surrender of all Japanese forces in S.E. Asia took place on 12th September 1945 at the Municipal Hall, Singapore. There had been several surrender ceremonies in various places in the region beforehand. In Singapore, there had been local hand-over ceremonies on board ship and at military establishments.
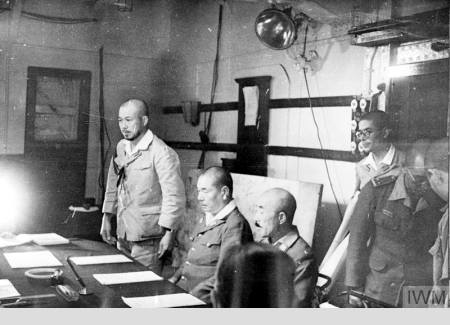
ABOVE: The Japanese Army and Naval Commanders take their seats before the signing of the terms of agreement for the re-occupation of Singapore, 4th September 1945 on board HMS Sussex.
Lt. Gen. Itagaki (right) and an Army Staff Officer are already sitting, and Admiral Fukodome (left) is moving to his chair.
Photo: Imperial War Museum. Photo No. A 30480.
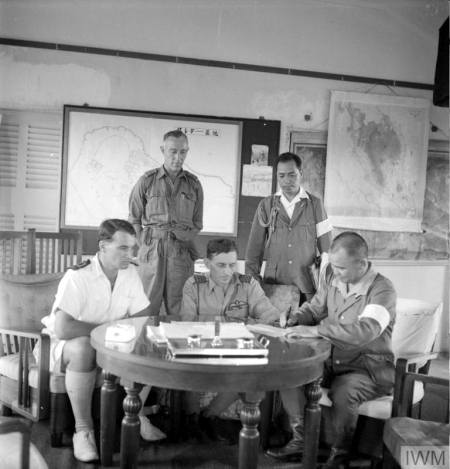
ABOVE RIGHT: Re-occupation of Seletar
Group Captain Geoffrey Francis DSO, DFC, and Lieutenant Commander R A Inskip watch as Japanese Vice Admiral Kogure appends his signature to the document marking the formal take over of Seletar airfield, Singapore, from the Japanese.
Photo: Imperial War museum. Photo No. CF 727
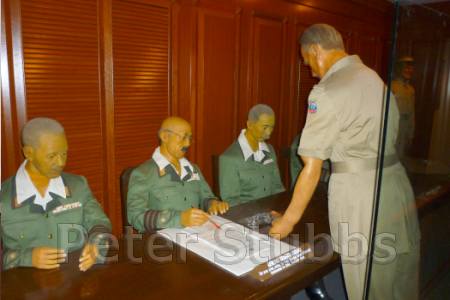
Formal Surrender of All Japanese Forces
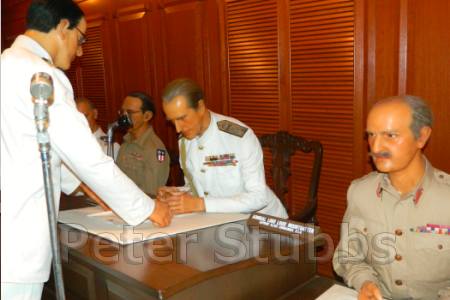
LEFT: Part of the British Delegation. Lt. Gen. R.A. Wheeler, Admiral Lord L. Mountbatten & Gen. Sir W. Slim
RIGHT: Part of the Japanese Delegation. Lt. Gen. H. Kinoshita, Lt. Gen. S. Itagaki & Lt. Gen. H. Kimura.
The table used at the surrender was taken to Australia several years after the war. It is housed at the Australian War Museum, Canberra. The original chairs are in the Surrender Chamber.